Makeup
Makeup for Women With an Oblong Face Shape
Where blush, bronzer, highlighter and brow shape go on an oblong face, with a step-by-step routine and the placements that lengthen a long face.
By Ayla Willow ·
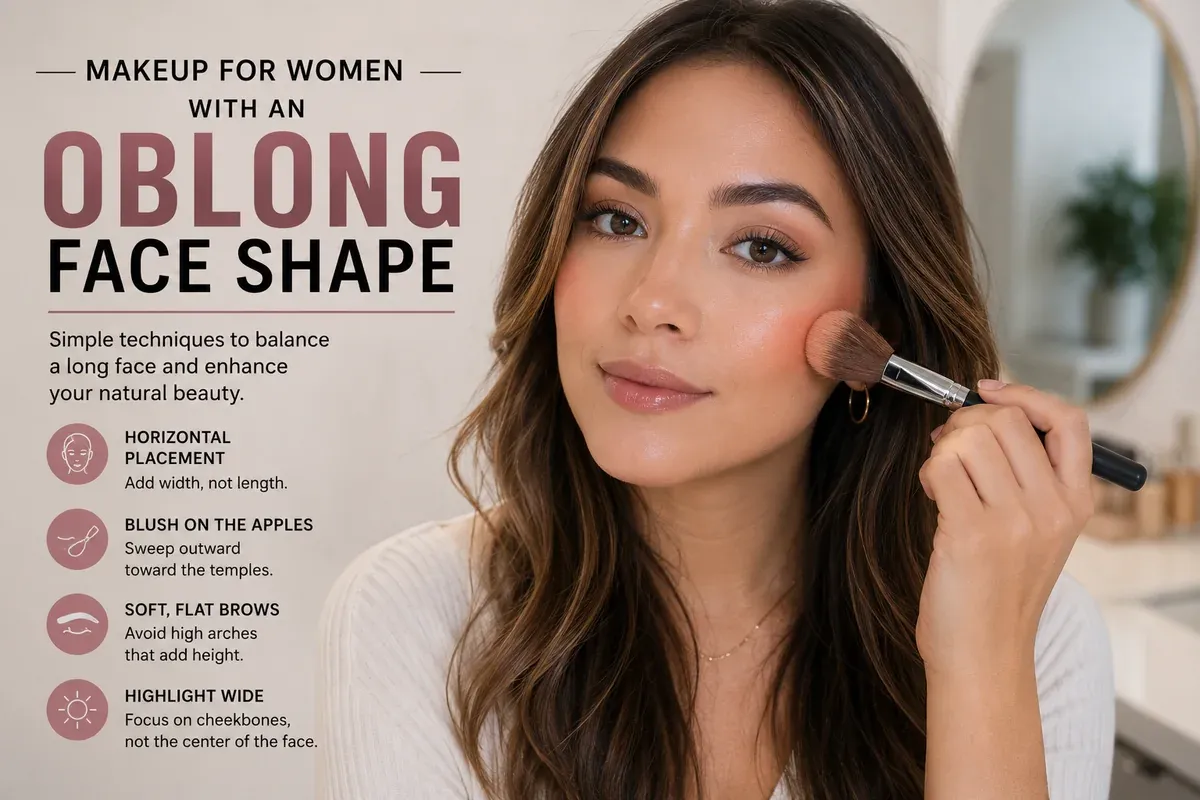
Makeup is the fastest of all the tools on this site, because you can test a change in two minutes and remove it just as quickly. On an oblong face almost all of it comes down to one decision, repeated across several products: whether you place colour across the face or along it.
The short answer: work horizontally. Blush on the apples blended out toward the temples, bronzer along the top hairline and under the jaw, highlighter across the cheekbones, and a flatter brow. Long vertical contour lines down the cheeks, blush dragged toward the jaw and a high peaked brow all add to the length.
What Can Makeup Do for an Oblong Face?
Makeup cannot change the measurements of an oblong face, but it changes where the eye lands and how the proportions read.
An oblong face has more length than width, with the forehead, cheekbones and jaw measuring close to one another. If you want to check where your own proportions land, the face shape detector on the homepage scores all seven shapes.
Makeup does not change any of those measurements. What it changes is where the eye lands and how light falls, which affects how the proportions are read. That is a real effect, but a modest one, and it works best in combination with hair and frames rather than on its own.
It is also worth saying plainly that none of this is correction. An oblong face is an ordinary face shape and there is nothing about it that needs fixing. What follows is a set of placement choices, useful if balance is what you are after and ignorable if it is not.
Where Does Each Makeup Product Go on an Oblong Face?
Six things shape how an oblong face reads: blush, bronzer and contour, highlighter, brows, eye makeup and lip shape.
Blush
Blush is the most influential product on this list, because it puts visible colour at the widest available point of the face.
Place it on the apples of the cheeks, the part that lifts when you smile, then blend outward and slightly upward toward the temple. That direction is the whole point: colour travelling sideways pulls the eye across the face.
The one placement to avoid is dragging blush downward toward the jaw. It follows the length of the face and lengthens it further. As a practical guide, keep the colour above the level of the tip of your nose.
Bronzer and Contour
Contouring advice online is usually written for round faces, where the aim is to slim the sides with vertical shading down the cheek hollows. On a long face that is exactly backwards, since it narrows the middle and emphasises the length.
Instead, shade the ends of the face. A light sweep of bronzer along the top of the forehead at the hairline visually shortens the forehead, which is often the longest section. A second sweep under the chin and along the underside of the jaw softens the bottom edge. Together they bring the top and bottom inward.
If you want some definition on the cheeks, keep it short and angled outward toward the ear rather than drawn down toward the mouth.
Highlighter
Highlighter draws the eye to whatever it sits on, so put it where you want width. The tops of the cheekbones, taken outward toward the temple, are the most useful placement.
The places to be careful with are the ones that add height or centre line: a long stripe down the centre of the nose, and a large highlight in the middle of the forehead. Both draw the eye vertically. A small amount on the nose tip or the bridge only is a reasonable compromise if you like the effect.
Brows
Brows sit at the top of the face and set the direction the eye travels.
A flatter brow with a soft arch keeps the eye moving horizontally. A high, peaked arch lifts the eye upward and adds apparent height between the eye and the hairline. Extending the tail slightly outward, rather than upward, reinforces the horizontal.
Keeping the brows reasonably full also helps, since a thin brow reads as a faint line while a fuller one reads as a horizontal bar across the top of the face.
Eyes
Eye makeup can support the same direction with very little effort.
Extending shadow or liner outward at the outer corner, rather than upward, widens the eye area. A soft horizontal wing does this well. Concentrating lash volume at the outer corners has a similar effect.
Heavy shadow taken high up toward the brow bone adds vertical space between eye and brow, so keeping the darkest part of the shadow closer to the lash line is usually the better choice here.
Lips
Take the lip to its full natural width rather than keeping it small and centred. A wider lip adds a horizontal element low on the face, which balances a long lower third.
Colour intensity matters far less than width. A neutral lip taken to the full corners does more for proportion than a bold colour kept narrow.
Makeup Placement for an Oblong Face at a Glance
| Product | Where it goes | What it does | What to avoid |
|---|---|---|---|
| Blush | Apples, blended toward the temple | Adds width at the widest point | Dragging colour below the nose tip |
| Bronzer | Top hairline and under the jaw | Shortens the top and bottom | Long vertical stripes down the cheeks |
| Contour | Short, angled outward on the cheek | Adds definition without length | Deep hollows drawn toward the mouth |
| Highlighter | Tops of the cheekbones, outward | Draws the eye sideways | Full-length nose stripe, centre forehead |
| Brow | Flatter shape, soft arch, tail out | Keeps the eye horizontal | High peaked arch |
| Eye | Outer corner emphasis, soft wing | Widens the eye area | Shadow taken high to the brow bone |
| Lip | Full natural width | Adds a horizontal at the lower face | Small, centred lip shape |
A Step-by-Step Makeup Routine for an Oblong Face
- Start with base as usual. Foundation and concealer do not change proportion; apply them the way you normally would and judge the placement steps against an even base.
- Bronzer at the hairline first. Load a fluffy brush lightly, tap off the excess, and sweep along the top of the forehead where it meets the hairline. Blend downward and outward so there is no visible edge.
- Bronzer under the chin and jaw. Sweep along the underside of the jaw and just under the chin, then blend down into the neck. Less product than you think you need is usually right.
- Blush on the apples. Smile to find the apples, apply there, then blend outward toward the temple in a horizontal sweep. Stop before the colour drops below the tip of your nose.
- Optional cheek definition. If you want it, a short angled shade just under the cheekbone, blended out toward the ear rather than in toward the mouth.
- Highlighter across the cheekbones. A light touch on the top of the cheekbone, taken outward. Add a small amount to the brow bone if you like, kept close to the arch.
- Brows next. Fill along the natural line, keeping the arch soft, and extend the tail slightly outward. Brush the hairs upward at the inner third and outward through the tail.
- Eyes with outward emphasis. Keep the darkest shadow near the lash line and extend it outward at the corner. Concentrate mascara on the outer lashes.
- Lips to the full corners. Line or fill to the natural edge rather than inside it.
- Check in daylight, straight on. Proportion is a straight-on effect. A mirror by a window tells you far more than a bathroom light does.
Which Makeup Placements Lengthen an Oblong Face?
Vertical cheek contour, low blush, highlighter stripes, a high peaked brow, very thin brows and small centred lip shapes all lengthen an oblong face. None of these is a mistake, and if you like the look, wear it; each one simply pushes in the same direction the face already goes.
Vertical cheek contour. The most common piece of advice online, and the least suited to a long face. A dark line running from the ear down toward the corner of the mouth narrows the middle of the face and lengthens it.
Blush placed low or dragged down. Colour near the jaw pulls the eye downward along the length of the face.
Highlighter stripes down the nose and forehead. Both draw a vertical centre line.
A high, sharply peaked brow. It lifts the eye upward and adds apparent height above the eye.
Very thin brows. A faint line does nothing horizontal at the top of the face. Fuller reads better here.
Small, centred lip shapes. They concentrate everything on the vertical centre line rather than adding width.
Heavy shadow taken high toward the brow. It stretches the space between eye and brow, which adds to the length of the upper face.
Which Makeup Brushes and Formulas Make Placement Easier?
Placement matters more than product, but a few practical points make placement easier.
A fluffy, rounded brush blends blush outward more easily than a dense angled brush, which tends to deposit colour in a concentrated spot. For bronzer at the hairline, a large soft brush is what keeps the edge invisible.
Cream and liquid blush blend outward more readily than powder and sit well on the apples without settling into a hard line. Powder is easier to build gradually, which is useful if you are unsure how far to take the colour.
Whatever the formula, build in thin layers. Placement mistakes are easy to correct while the colour is light and difficult once it is dense.
How Makeup Works With Hair and Glasses
Makeup is the smallest of the levers available, and it works best in agreement with the larger ones.
Hair covers more of the face than anything else. A fringe shortens the forehead, and layers at cheekbone level add width exactly where blush does. See hairstyles for women with an oblong face.
Frames sit at eye level and draw the strongest horizontal line on the face. If you wear glasses, they are doing much of this work already, which means you can go lighter on brow and eye emphasis. See glasses for women with an oblong face and sunglasses for women with an oblong face.
If you wear a strong fringe and bold frames, a light hand on blush and bronzer is usually enough. All three at full strength can look busy rather than balanced.
Are These Makeup Rules Mandatory for an Oblong Face?
No. These are placement choices, not corrections. An oblong face is a normal, common face shape, and nothing here implies it needs adjusting.
Makeup is also personal in a way that eyewear sizing is not. If you love a sharp contour, a high arch and a small bold lip, none of this should stop you. Use it to understand why one placement reads differently from another, then make the call yourself.
If you are not certain your face is oblong, the detector on the homepage scores all seven shapes and shows the measurements behind the result.
Frequently Asked Questions
Short answers to the questions that come up most often on this topic.
Where should blush go on an oblong face?
How do you contour a long face?
Should brows be arched or straight on an oblong face?
Does blush placement really change how a face looks?
What lip shape suits an oblong face?